deCONZ
References
Troubleshooting
Make sure your Conbee/Conbee II/RaspBee gateway is connected. If your gateway is not detected, or no lights can be paired, try moving the device to another usb port, reboot your computer and build the stack from the menu again cd ~/IOTstack && bash ./menu.sh (select "Pull full service from template" if prompted). The gateway must be plugged in when the deCONZ Docker container is being built.
Before running docker-compose up -d, make sure your Linux user is part of the dialout group, which allows the user access to serial devices (i.e. Conbee/Conbee II/RaspBee). If you are not certain, simply add your user to the dialout group by running the following command (username "pi" being used as an example): sudo usermod -a -G dialout pi
Now run docker-compose up -d to build the stack.
If you are still experiencing issues, run docker-compose down to remove all containers from the stack and then docker-compose up -d to build them again.
Use a 0.5-1m usb extension cable with ConBee (II) to avoid wifi and bluetooth noise/interference from your Raspberry Pi (recommended by the manufacturer and often the solution to poor performance).
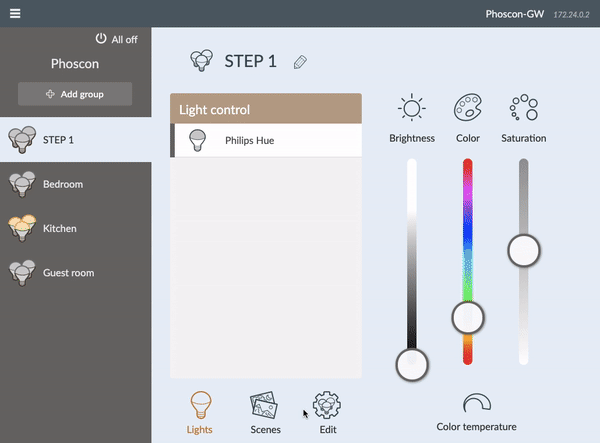
Accessing the Phoscon UI
The Phoscon UI is available using port 8090 (http://your.local.ip.address:8090/)
Viewing the deCONZ Zigbee mesh
The Zigbee mesh can be viewed using VNC on port 5901. The default VNC password is "changeme".
Connecting deCONZ and Node-RED
Install node-red-contrib-deconz via the "Manage palette" menu in Node-RED (if not already installed) and follow these 2 simple steps (also shown in the video below):
Step 1: In the Phoscon UI, Go to Settings > Gateway > Advanced and click "Authenticate app".
Step 2: In Node-RED, open a deCONZ node, select "Add new deonz-server", insert your ip adress and port 8090 and click "Get settings". Click "Add", "Done" and "Deploy". Your device list will not be updated before deploying.